
Stationary dry cupping
How: Cups placed and left for several minutes on muscle-rich areas (back, glutes, thighs).
Use when: You want classic marks and targeted release on a few hotspots.
Avoid: Bony areas, broken skin, varicose veins, front of neck.
Match your goal to a technique. Use this as a practical chooser—and always respect safety and training limits.
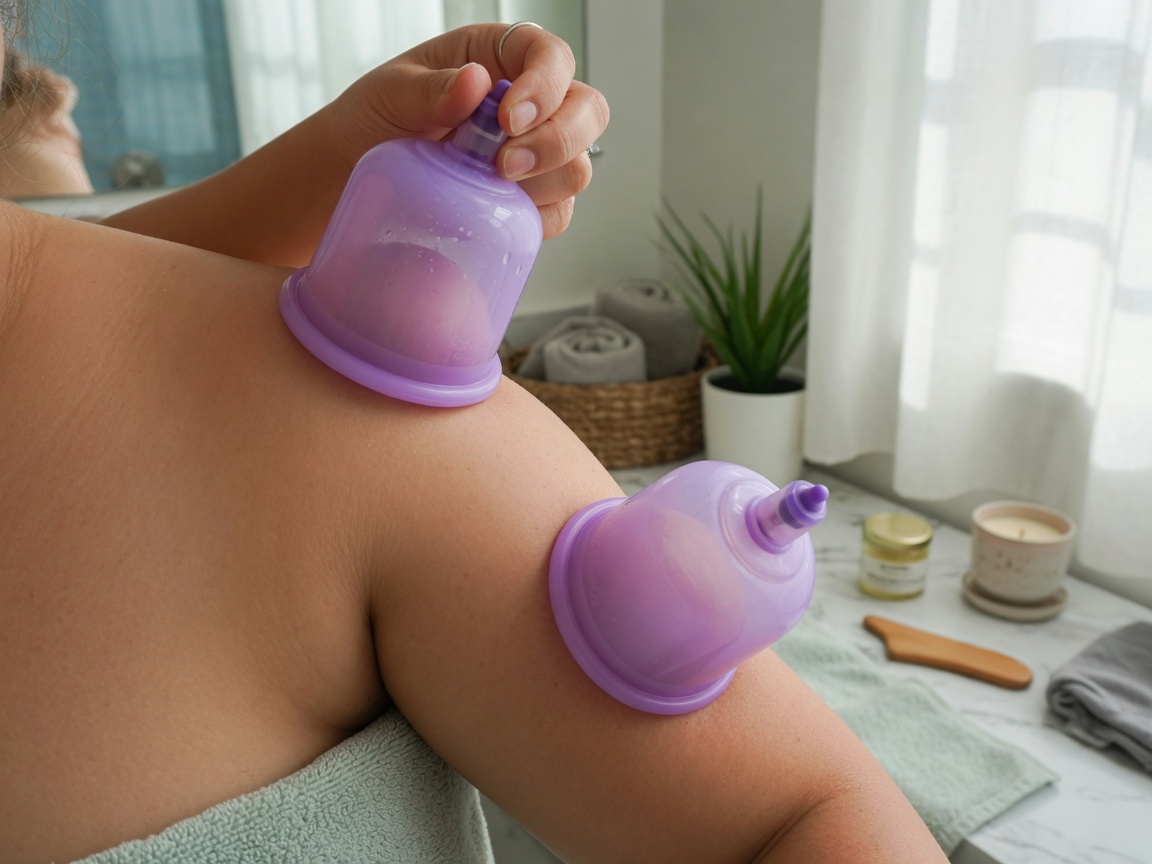
| Your goal | Suggested approach | Level |
|---|---|---|
| First time ever | Professional dry cupping (pump or silicone) | Beginner |
| Desk back / upper back knots | Stationary dry + optional sliding on traps | Beginner–pro |
| Sports recovery | Sliding or short stationary on large muscles | Intermediate |
| Home maintenance | Silicone cups, light suction, short holds | Beginner* |
| Traditional clinic experience | Fire cupping with licensed practitioner | Pro only |
| Wet cupping interest | Only with hygienic trained specialist | Pro only |
*Home use still requires education and contraindication screening—see safety page.
How: Cups placed and left for several minutes on muscle-rich areas (back, glutes, thighs).
Use when: You want classic marks and targeted release on a few hotspots.
Avoid: Bony areas, broken skin, varicose veins, front of neck.
How: Oil + continuous movement of cups along muscle groups.
Use when: Broad tightness, athletic recovery, massage-like preference.
Tip: Often feels more dynamic; marks may appear as streaks.
How: Squeeze cup, seal on skin, release for suction; keep sessions short.
Use when: Legs, hips, shoulders you can reach; maintenance between pro visits.
Rules: Start light, 2–5 minutes, never over spine bones or inflamed skin.
How: Flame creates vacuum in glass cup; applied by trained hands only.
Use when: You want a traditional clinic method and trust your practitioner’s skill.
Do not: Attempt with candles, alcohol-soaked cotton at home without training.
If you use a reputable home silicone or pump kit after education: